


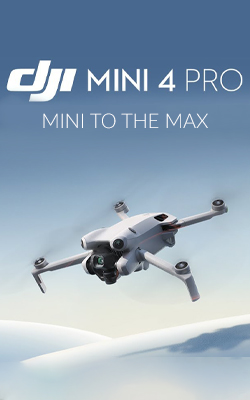


DJI Mini 4 PRO Beginners Guide with Beth Priday
Is the DJI Mini 4 Pro Good for Beginners?
Are you considering getting your first drone and wondering if the DJI Mini 4 Pro is the right choice? Look no further. The DJI Mini 4 Pro is a perfect drone for beginners, offering a blend of user-friendly features, compact size, and excellent performance. Let's dive into what makes this drone an ideal choice for those new to flying.
Check out the video or keep reading to find out more!
Perfect Drone for Beginners
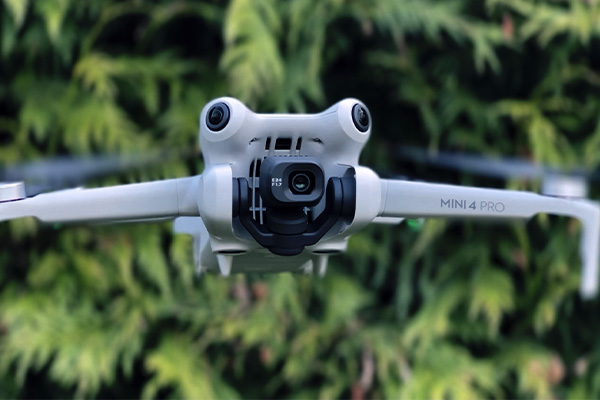
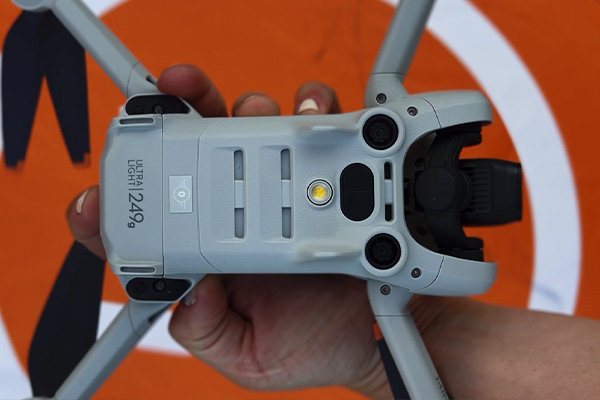
The DJI Mini 4 Pro is an excellent entry-level drone, particularly because of its small and lightweight design. Weighing in at under 250 grams, this is a great drone to get started with. Due to updated legislation, you will be required to register with the Civil Aviation Authority (CAA) as the operator.
Getting Ready for Your First Flight
Before you take off, you'll need to create an account on the DJI Flight app. Once you open the app, it will guide you through a comprehensive tutorial on how to operate the drone. Here are the steps to get you started:
- Turn on the Drone: Double-click and hold the power button until the lights turn on and the propellers start moving.
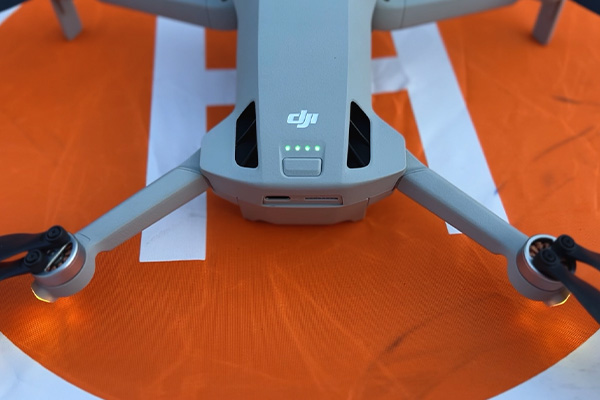
- Ready for Flight: The status lights on the drone will turn green when it’s ready to fly.
- Turn on the Controller: Similarly, double-click and hold the controller’s power button. The controller should then display what the drone is seeing.
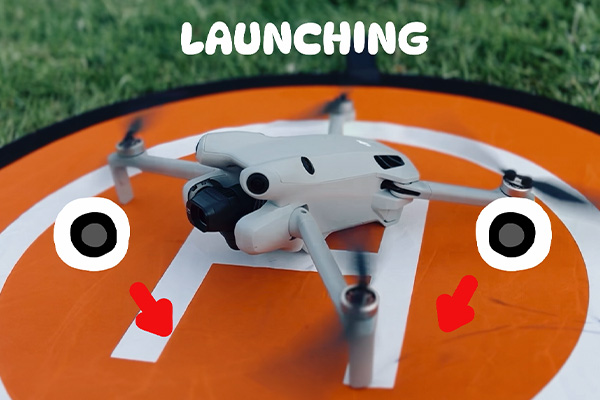
Launching the Drone
Launching the drone is straightforward:
- Point both sticks down towards the middle and then push the left stick up.
- Hover the drone a couple of meters in the air and perform some tests to get a feel for the controls: rotate it 360º, pan left, right, up, and down.
- Familiarise yourself with the joystick functions: Left Hand Joystick: Up, down, and rotate. Right-hand joystick: Left, right, forward, and backwards. Wheels: Tilt.
 1
1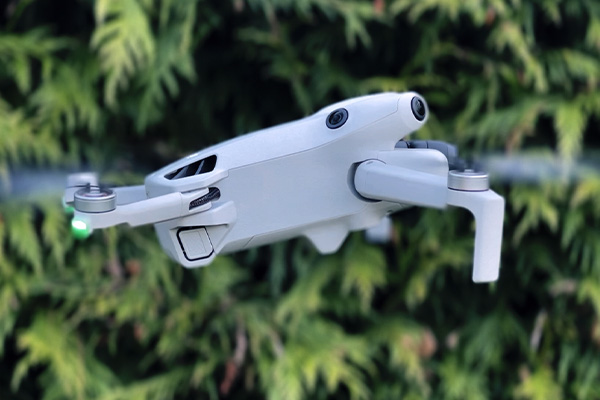 2
2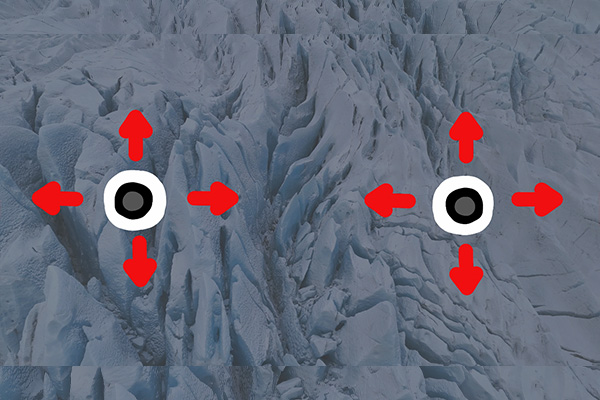 3
3
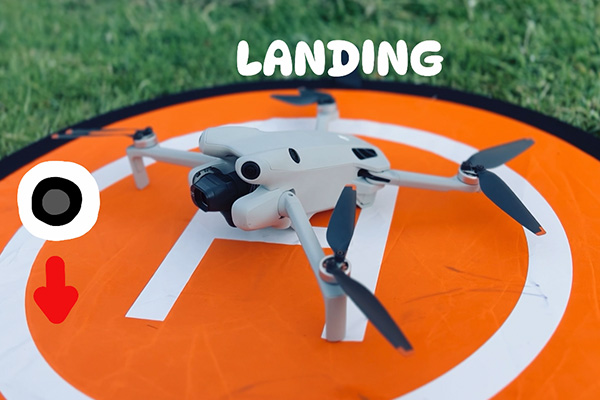
Landing the Drone
To land, push the left stick down. The drone will pause and hover a few feet from the ground before landing. Keep the stick down until it touches the ground completely and the propellers pause.
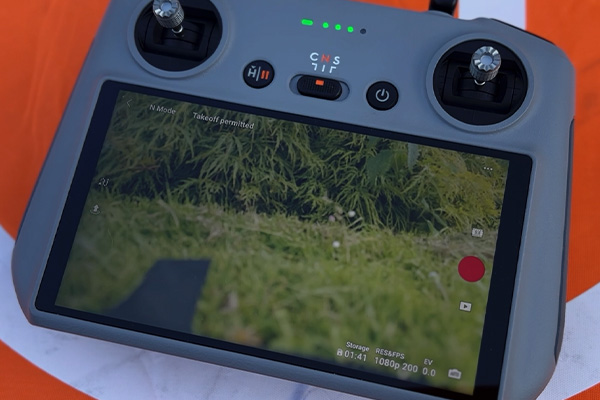
Using the DJI RC Controller
The DJI Mini 4 Pro controller is designed for ease of use, featuring a big, bright screen and intuitive controls. You can switch between different recording modes such as Photo, Video, Mastershots, Hyperlapse, Quick Shots, and Pano.
Key Settings on the Controller:
- Obstacle Avoidance System: Choose to brake or bypass objects the drone comes up towards. You can also turn it off completely when confident, or it auto-turns off in Sport Mode.
- Return to Home Altitude (RTH): Set a suitable height for the area you’re flying in for your drone to fly at when returning to home.
- Maximum Altitude and Distance: Set alerts for these limits.
- Customise Buttons and Wheels: Start with factory settings and adjust as you gain confidence.
- Select Video and Coding Format: Adjust as required for your finished video.
- Shooting Modes: Choose between Cine Mode, Normal Mode, or Sport Mode.
- Return to Home Button: Easily bring your drone back to the take-off point.
Camera Settings
If you’re new to videography or photography, it’s best to leave the camera settings in auto mode. The DJI Mini 4 Pro allows you to change frame rates and video quality up to 4K30fps. You can also adjust professional photo settings like aperture, shutter speed, and ISO as you become more experienced.
Laws and Safety
It is crucial to be aware of the laws and safety guidelines when flying your drone:
- Visual Line of Sight (VLOS): The CAA requires you to always keep the drone within your line of sight when flying.
- Maximum Altitude: It is against the law to fly your drone above 120 meters as higher up you are at risk of hitting aircraft.
- Safe Launching and Landing: Stand at least 5 meters back when launching and landing your drone to avoid injury from the propellers.
- Signal Loss: If the drone loses signal, do not panic, it will automatically return to the take-off point. You can adjust this setting to hover in place for different scenarios, such as launching from a moving vehicle.
- Obstacle Avoidance: Ensure this is properly set to either Brake, Bypass or None to avoid collisions.
- Permitted Areas: Only fly in designated Green Zones. Avoid Orange or Red zones to stay compliant with regulations.
- Flight Conditions: Avoid flying in winds over 23 MPH or in heavy rain.
FAQs for Drone Beginners
What happens if your drone loses signal?
If you are flying your drone and it loses signal do not panic, your drone is programmed to return to home. You will see an alert on your screen telling you that the “Aircraft is not connected to RC” and then the drone will make its way back to your take-off point.
You can change this setting for the drone to hover in place if it loses signal, this can be useful if you are taking off from a moving vehicle like a boat as you would not want the drone to return to this take-off point
What Return to Home height should I set?
You need to set this height to be high enough to clear any obstacles the drone might come across when it returns home. The factory setting for this is 36 meters but you might want to adjust this depending on where you are flying. Take a look around and if you see tall trees or other obstacles you may want to increase this height.
What Obstacle Avoidance should I set?
In the controller settings, you can choose whether the drone bypasses the object it detects or brakes to a hover. Bypass will move around an object using the drone's sensors, keeping it at a sensible distance. Brake will hover in front of the object until you move the drone with the joysticks.
You can also turn it off fully but we wouldn’t recommend doing this until you are fully confident at flying.
How do I know I’m flying in a safe zone?
Before planning your flight we recommend checking online whether the area you intend to fly is a Green Zone. Once you are on location though the DJI Flight App will tell you if you are flying in a Green Zone, also known as a Recommended Zone.
If the icon is green then you are legally allowed to fly in this area, do not fly in Orange or Red zones. It is important to pay attention to these zones as you may be in a military air space without knowing, or on private land and if you fly in an Orange or Red zone then you could be in serious trouble. You also cannot fly on private land without permission.
Best flight conditions for drones?
Wind speed should not be higher than 23 MPH and only fly in light rain, if any rain at all. It’s always best to ask yourself “Is it worth risking losing the drone for this shot?”
How long can I fly the DJI Mini 4 Pro?
With the DJI Intelligent Flight Battery, the Mini 4 Pro should have a flight time of up to 34 minutes. However, this can alter depending on the flying conditions so we always recommend bringing additional batteries with you.
Final Thoughts
The DJI Mini 4 Pro is an exceptional choice for beginners, offering a blend of user-friendly features and advanced capabilities. Its compact size and lightweight design make it easy to handle, while the intuitive controller and comprehensive safety features ensure a smooth and enjoyable flying experience. Whether you’re capturing stunning aerial shots or simply enjoying the thrill of flying, the DJI Mini 4 Pro is your perfect companion.
Read next
- 5 Things I Love About The DJI Avata
- Architecture Photography with the DJI Mini 3 Pro
- The DJI Avata was Born To Fly
Thank you!
Thanks for taking the time to read our blog, we really do hope they help you out and answer some of your questions. If you still have some unanswered, then please feel free to get in touch with our team of experts.
We have a LiveChat option on our website and we can, of course, be contacted via our email, we're also on the end of the phone too! Read more on how to contact us here >
Want to write for us?
If you've got experience with producing content on photo, video and/or optics products or techniques then we would love to hear from you. Contact our blog editor, Bea, with a sample of your work at bea@cliftoncameras.co.uk.
- By Beatrice Debney
- 23 Jul 2024


